File backup is important since data loss always happens unexpectedly. MiniTool ShadowMaker offers a quick file backup solution and also allows you to back up the files and folders when they are in use. It enables you to quickly choose files/folders from Users, Libraries, and Computer, and then save the image files to a safe location.
Step 1: Run MiniTool ShadowMaker to its main interface.
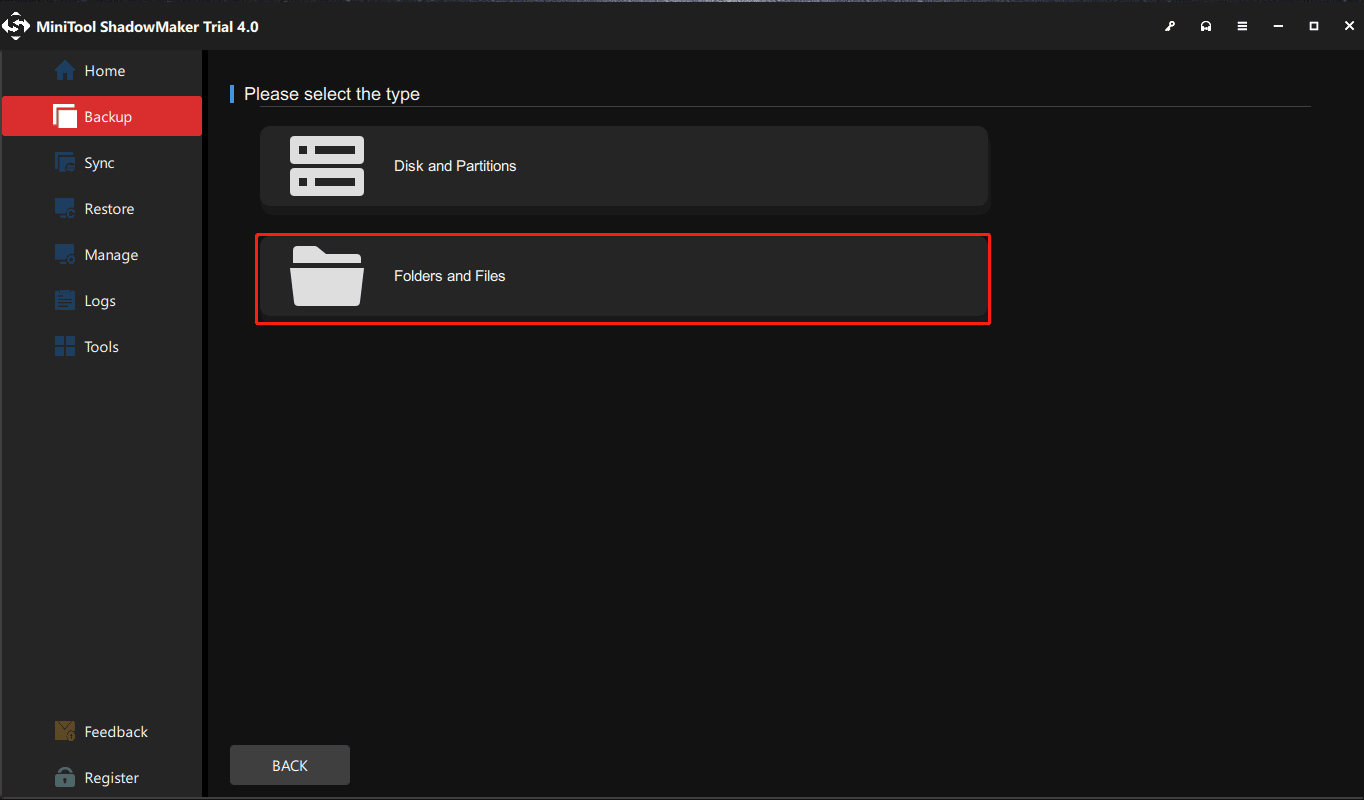
Step 2: Under Backup, click the Source tab. Then in the pop-up window, choose Folder and Files.
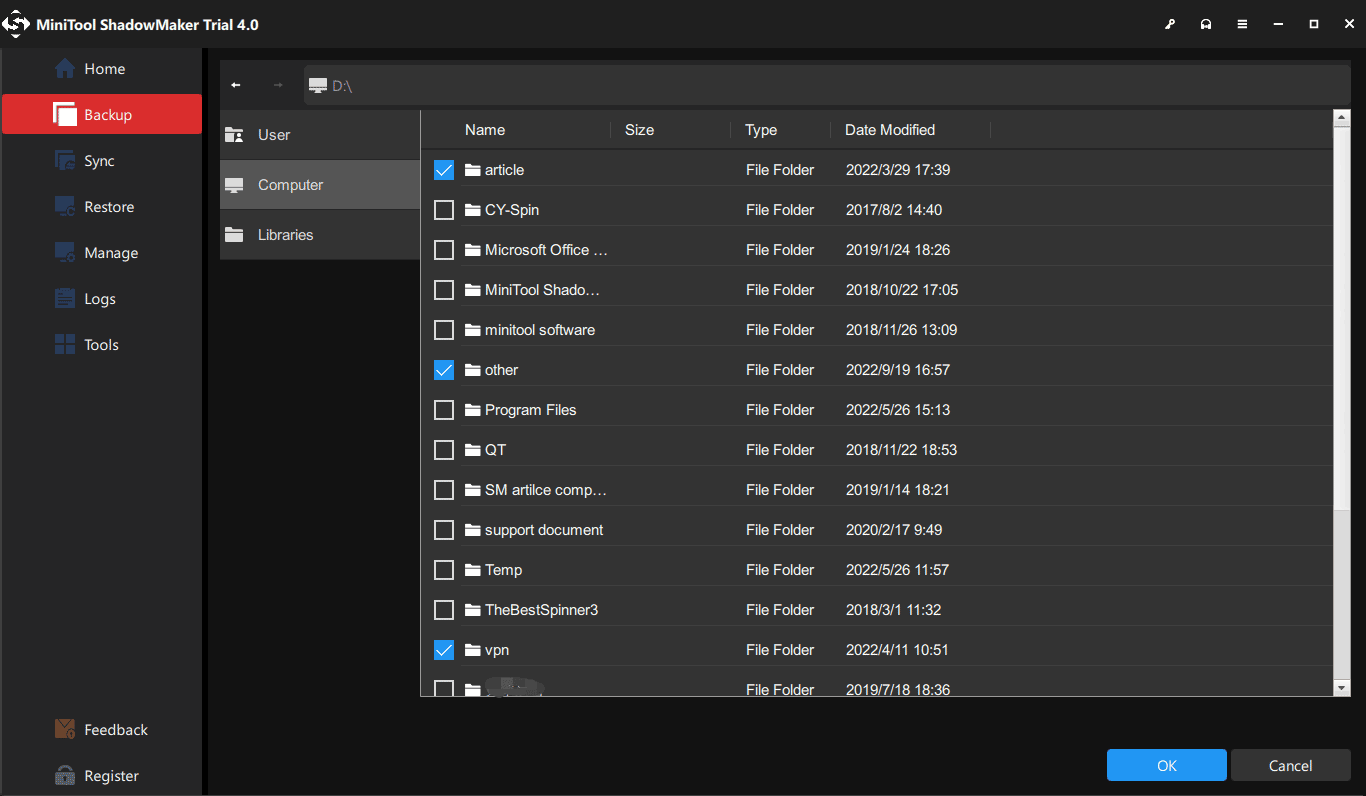
Step 3: Browse the source and check the desired files/folders you want to back up and click OK.
Step 4: Now in the main interface of MiniTool ShadowMaker, click DESTINATION to select the destination path. MiniTool ShadowMaker allows you to back up your computer to multiple places:
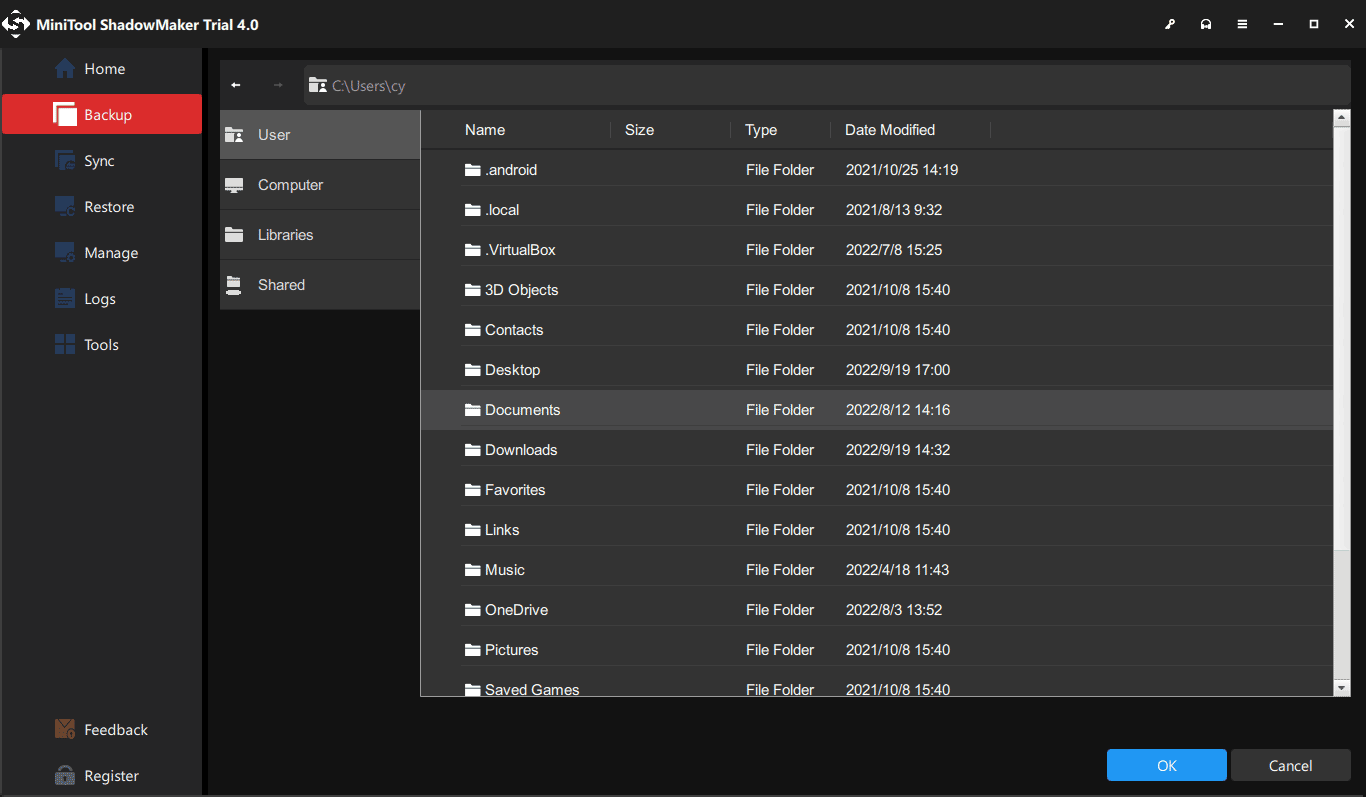
1. User
Click User and all the folders under C:\Users\username are listed here. Then choose one folder as the destination location.
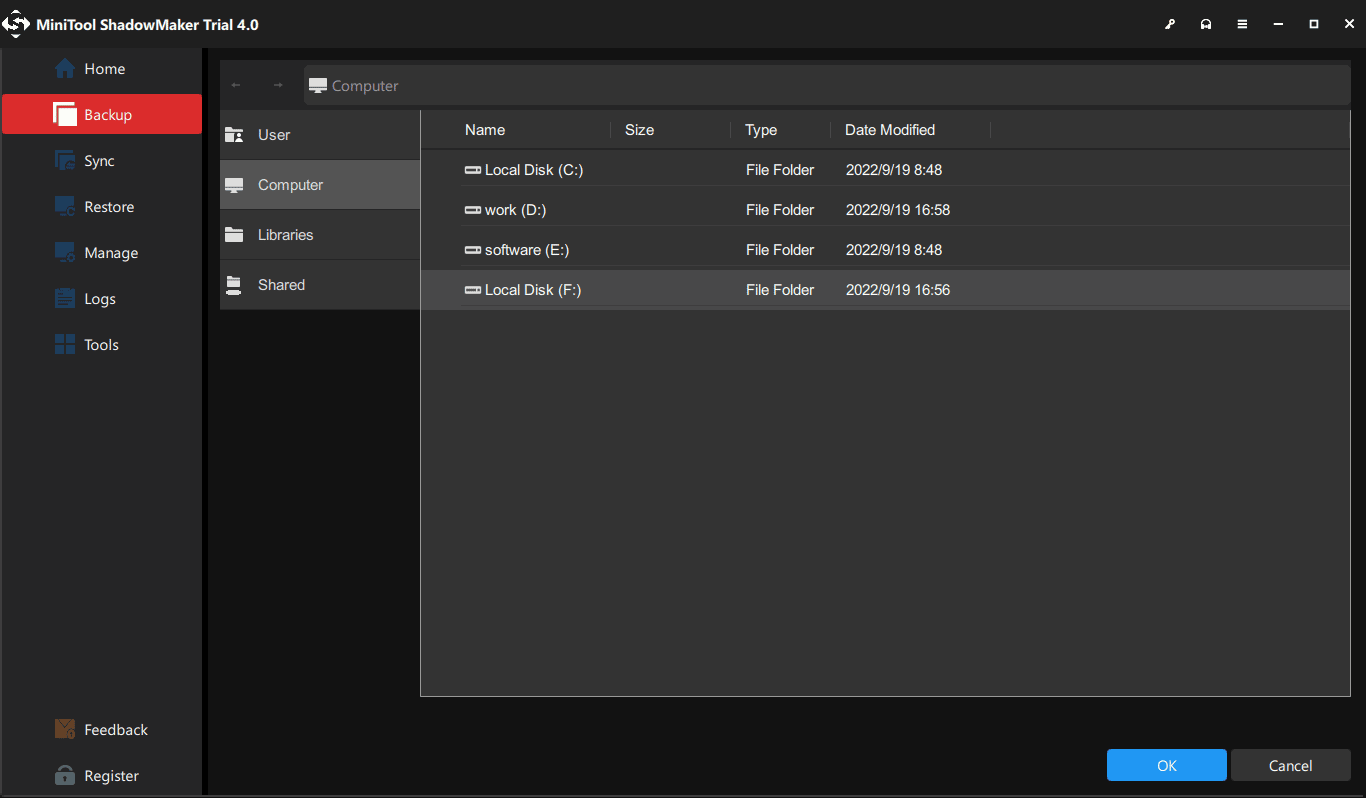
2. Computer
Under this tab, all drives that Windows can detect will be listed. And you can choose a partition on your internal hard drive, external hard drive, or removable USB flash drive as the target place to store the backup image file.
3. Libraries
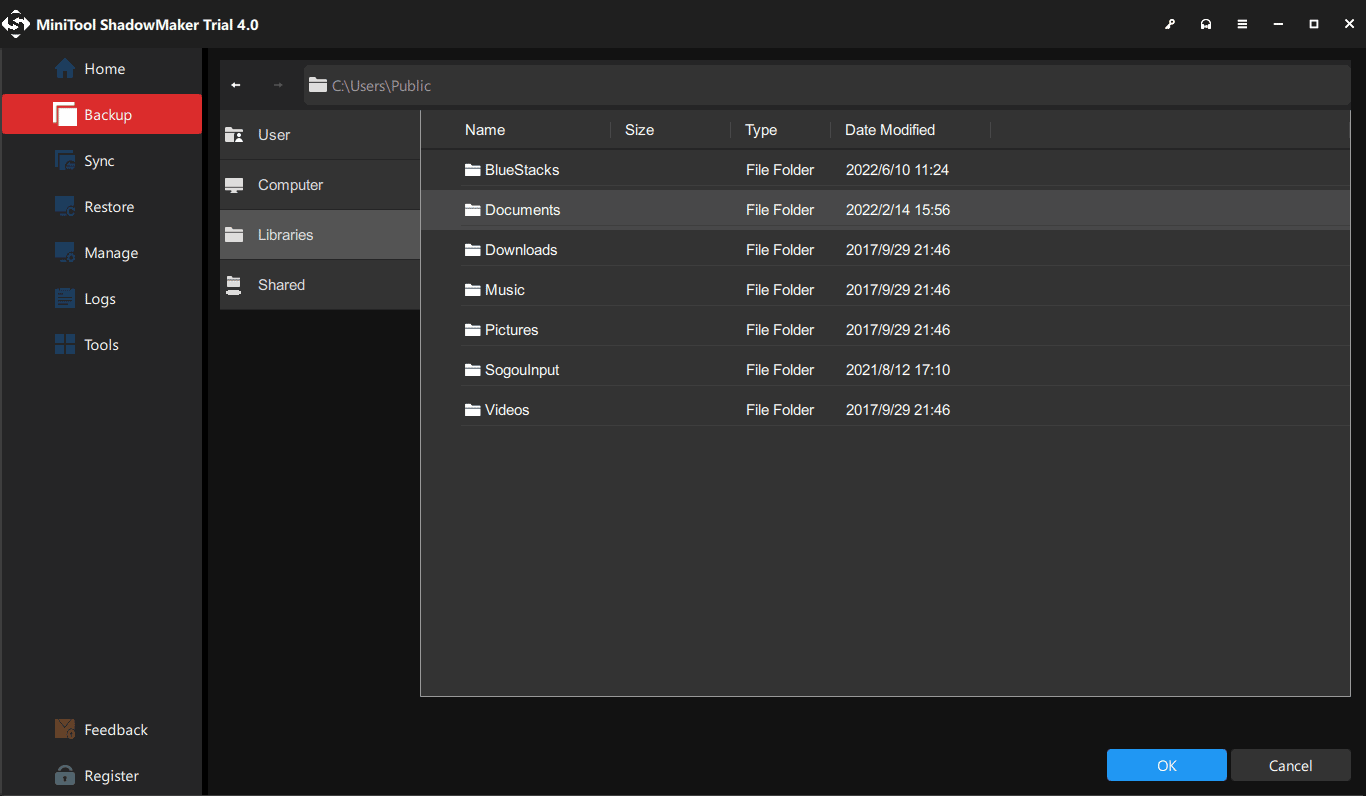
Click Libraries, then all the folders under C:\Users\Public will be listed. Just choose one folder to store the backup image file.
4. Shared
You are also allowed to back up your PC to a shared folder. To do this, make sure the target PC is located in the same LAN and follow the guide:
First of all, create a folder (for example LLL) and then a sub-folder (for example,DDD) in it.
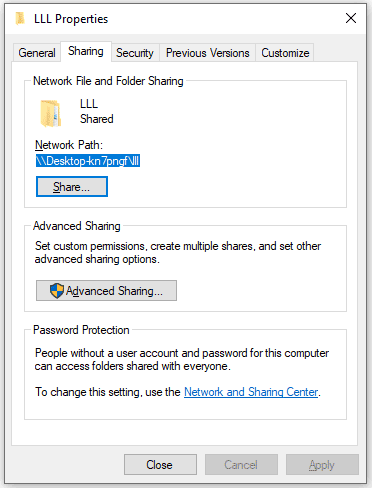
Secondly, right-click on the LLL folder to choose Properties.
Under the Sharing tab, click Share. Then, select the user or group to share files/folders with and click Add. Choose Read/Write as Permission Level and click Share.
Under the Sharing tab, click Advanced Sharing option. Now click the Permissions option and ensure the selected group or user names have full control.
Finally, you will be able to see the network path of the shared folder.
Then, go back to MiniTool ShadowMaker and start the configuration. Two ways are available:
Use an IP:
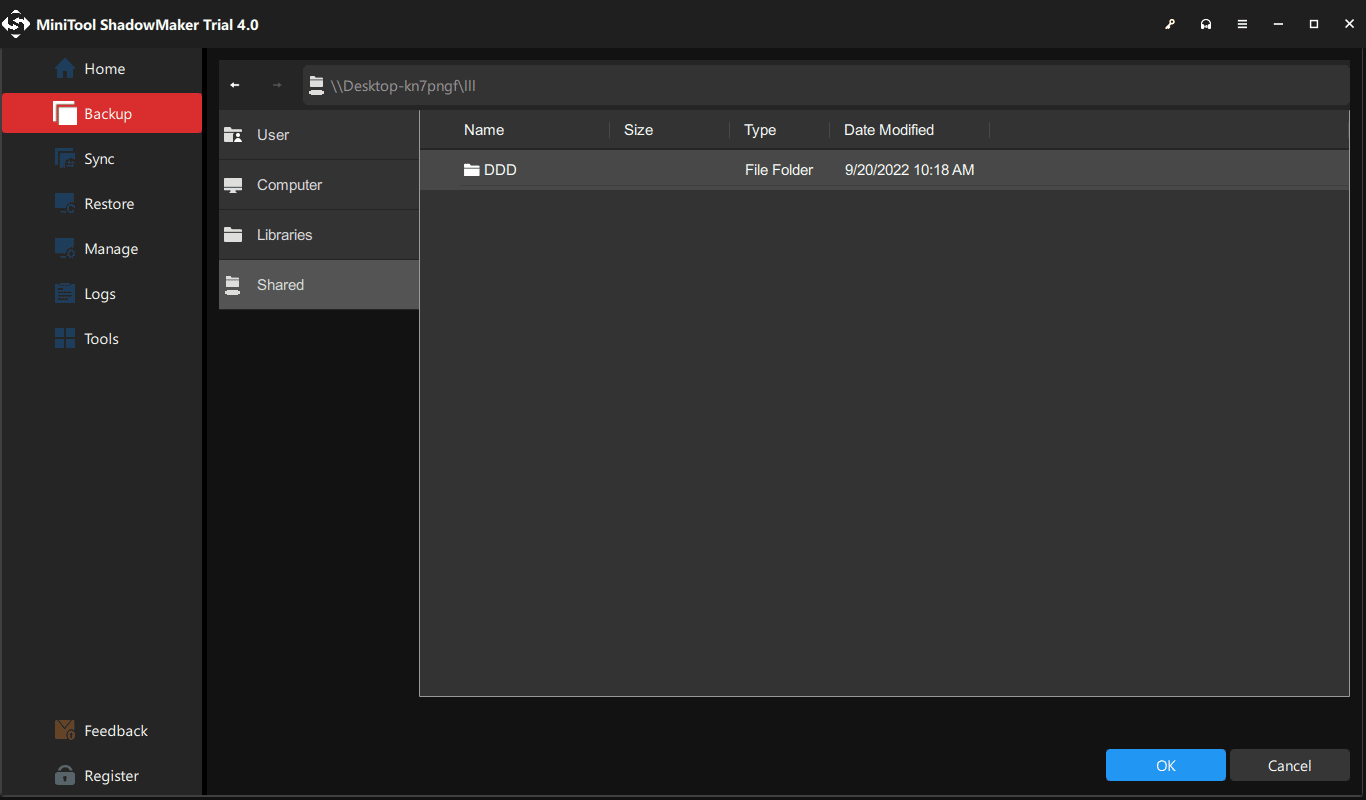
1. Under the Shared tab, click the Add button, and type the path, user name, and password.

2. Open the main folder (LLL) and choose the sub-folder (DDD) as the storage path.

Use the folder path:
1. Type the network path of the shared folder, username, and password.

2. Open the main folder and choose the sub-folder (DDD) as the storage path.
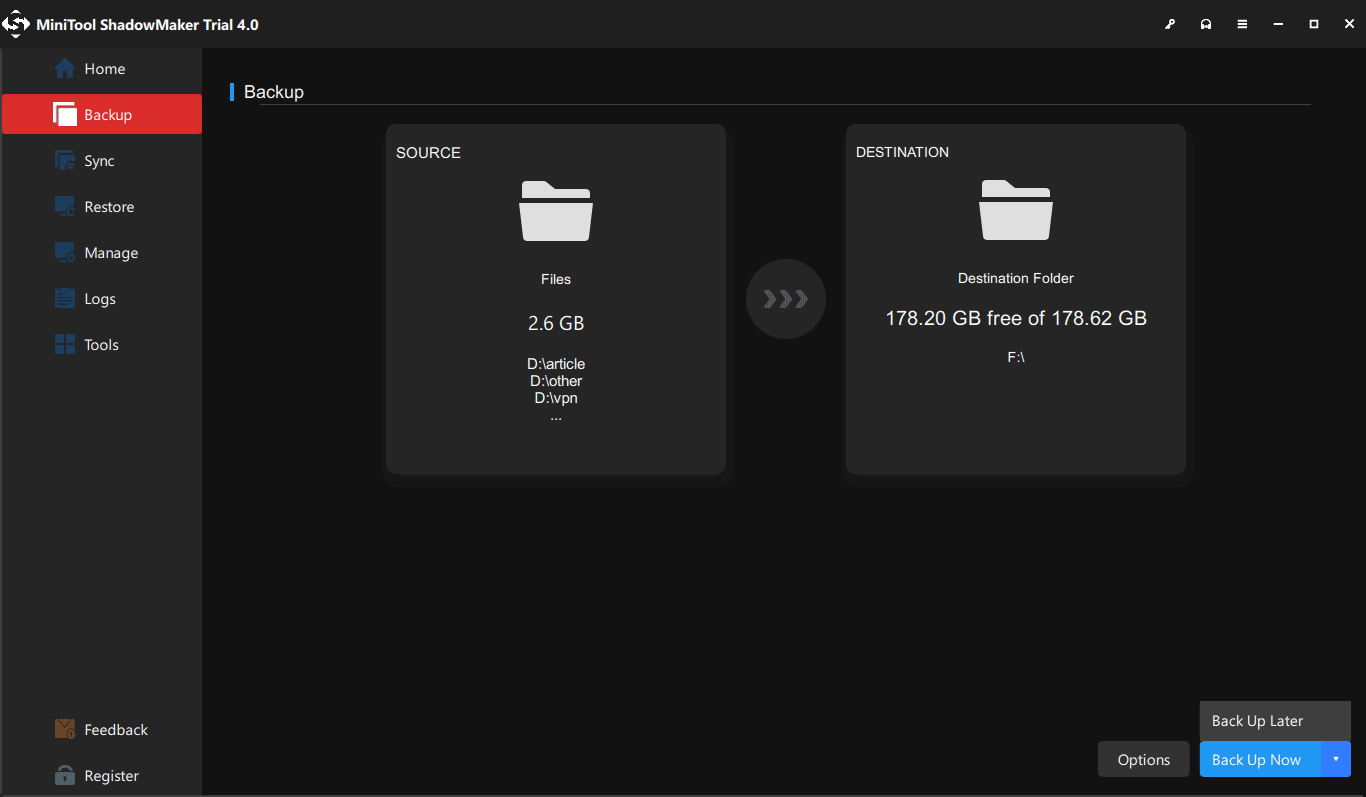
Step 5: After choosing a destination path, go back to the Backup tab and choose Back Up Now or Back Up Later. You can start the delayed backup task on the Manage page.
1. To set advanced parameters for the current backup task, click Options > Backup Options.
2. To specify a backup task to run on a regular basis, go to Options > Schedule Settings.
3. To manage disk space occupied by backup files, go to Options > Backup Scheme.
To know much information, refer to Backup Settings.
About The Author

Position: Columnist
Vera is an editor of the MiniTool Team since 2016 who has more than 7 years’ writing experiences in the field of technical articles. Her articles mainly focus on disk & partition management, PC data recovery, video conversion, as well as PC backup & restore, helping users to solve some errors and issues when using their computers. In her spare times, she likes shopping, playing games and reading some articles.